A few sites really helped me through this and I owe them a shout:
KegKits.com
HomebrewTalk.com
This Blog
The refridgerator I used to convert was a Danby 4.4 cubic foot Compact refrigerator (model DAR125SLDD) I got it on sale from HH Greg. These are good for a couple of reasons. The shelving is mounted in back on supports instead of on the side walls (although there are two small supports on the bottom portion) this creates more space for kegs. 4.4 cu/ft is a good size too because it just barely holds two kegs side by side.

I started working on the door, you need to remove all of the plastic shelves and things to make more room for the kegs to fit.

My first obstacle was here. In all of the tutorials I found there are screws holding the plastic to the insulation and door. Danby must have redesigned their door gasket to be tool-less. As you can see the gasket fits into a groove to secure to the door. Which then made the plasitc much harder to remove, as you'll see. I decided to save the money and time instead of fitting a new gasket to the door I would use this groove area as a frame for my door interior and use the gasket that came attached to the fridge.

After trying to pry the plastic off from the edge and cracking a couple of corners I found out that the whole door is basically held together with insulation. After some rough work I used my new dremel to cut the main body of plastic off from the edge.

This picture is to show how the foam insulation is also the glue, every pocket of what I thought would be airspace was foam that connected to the main body of the door.

A messy deconstruction.

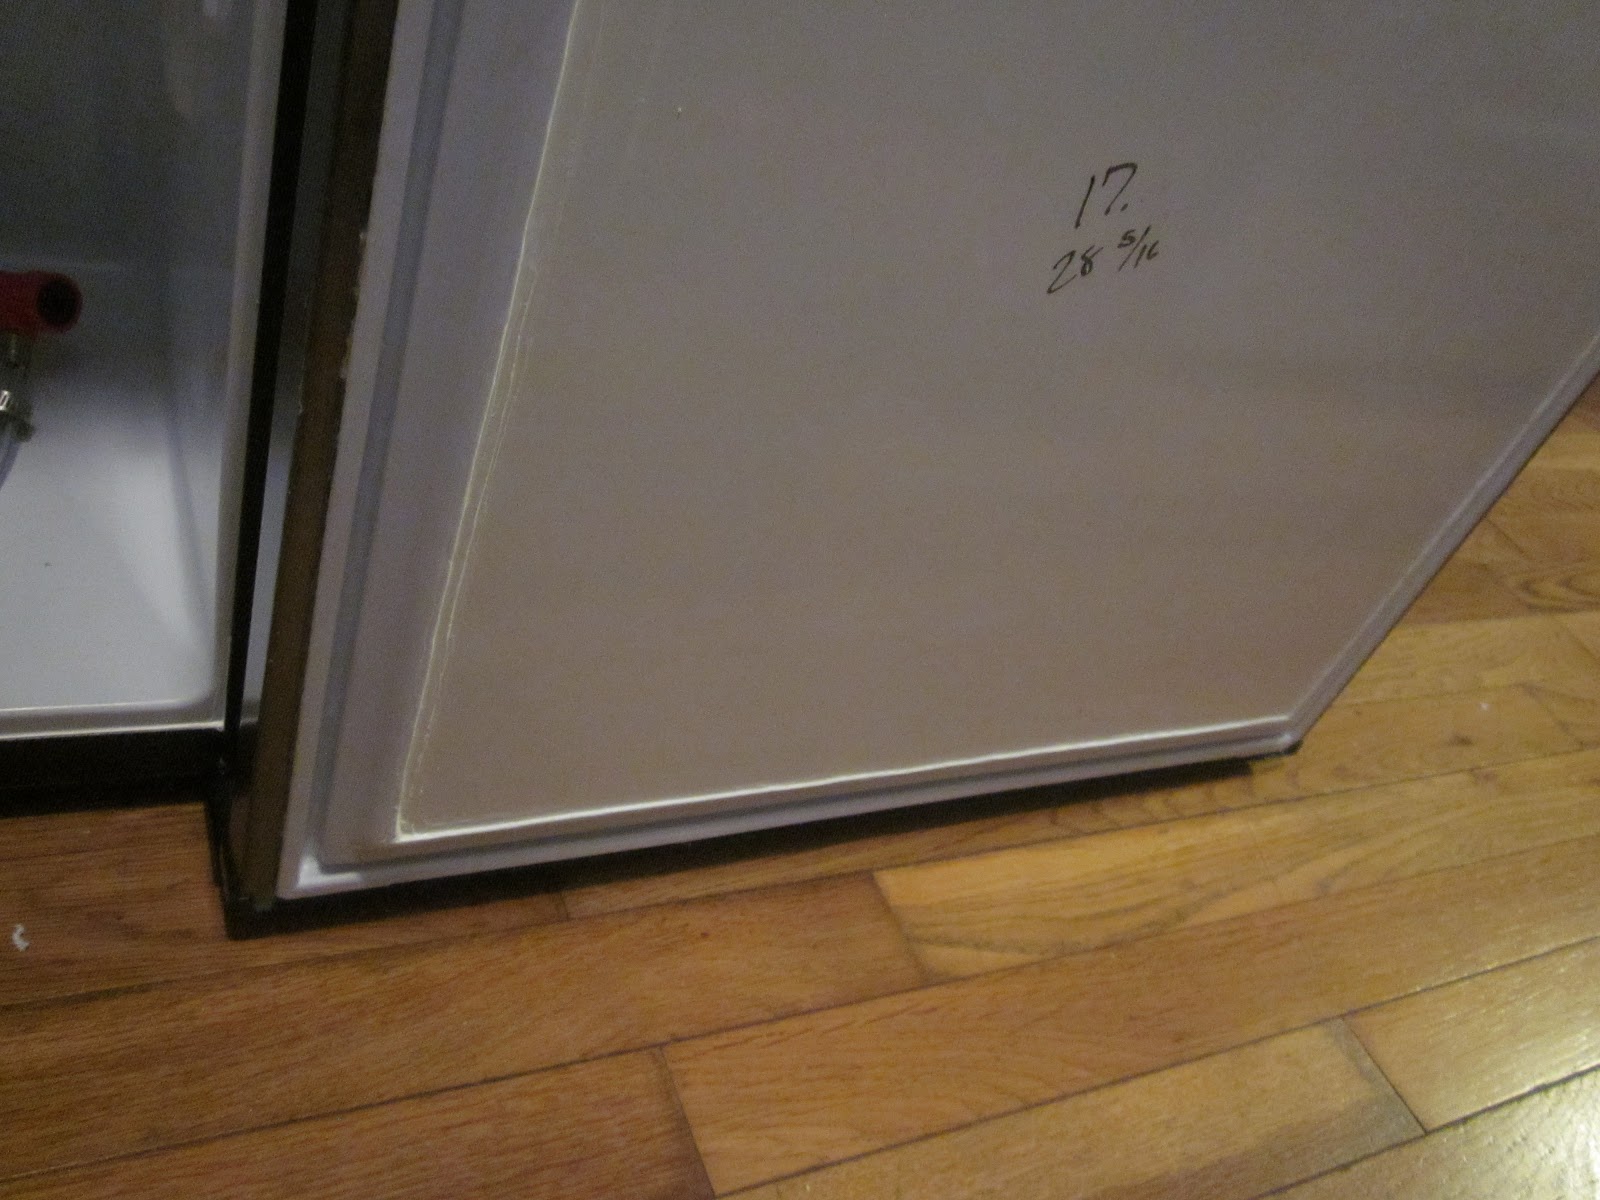
I was originally going to use plexiglass for my door interior but since i did such a hack job on the foam and I thought it was pretty ugly, I decided that there was no reason to see it. I chose whiteboard instead this way I can write on it about which beer is where, the clean white also looked pretty nice with the interior.

After I cut the board to size I used a weatherproof silicone sealant/adhesive to glue the whiteboard to the frame and used the same stuff to glue the frame to its home back onto the door.
I used a white caulk on the inside to fill in the crack on the front side since I glued it from the back. This also helped finish the edge a little nicer. I'm not super excited about the ridge but who cares when the door will be shut and out of sight for 99% of it's use.

The cornstarch test! Mix a paste of cornstarch and rubbing alcohol together and rub over the top of the refrigerator while it is on. This is to find a refrigerant line, you don't want to hit one of those while you're drilling.

Apparently it will dry or evaporate or something will change when there is a warm refrigerant line underneath. It seems that this Danby model line runs across the front side, so no worries for me!

The top piece of plastic is pretty rigid but I've heard over time or when things get sticky the tower will wiggle a bit and I don't like that idea. so I cut a board to fit under that will hold the tower more sturdily. It's glued to the plastic with the weatherproof silicon.

I didn't notice that I had a piece of quarter inch wood lying around until after I sanded a quarter inch off the other piece. Made me wish I had a shop vac.

After doing some math I found out that with this tower there was almost no wiggle room for the tower placement. The light inside the fridge is dead center and takes up bunch of space and the cold plate in back sticks out just far enough to make it a challenge.

I used a 1 1/8" hole saw to get through all of the layers at once. Measure a billion times cut once. When cutting through plastic go SLOW or you'll crack or chip it. I'm not sure if the painters tape really helped with that but it did make a nice temporary place to mark my drilling holes.

After your main hole is drilled line it with metal waterpoof tape to keep condensation and mold from reaching your insulation. (Not pictured)

I shoved a 1" piece of copper down the main hole and the beer lines through that. I have no idea if it really makes a difference, apparently with a larger tower hole the warmest air from the fridge hangs out in the tower and people end up pouring too much foam on their first pour of the night. The copper pipe uses convection cooling and in theory helps cool the beer lines while they are in the tower. Since it didn't cost much time nor effort I figured it would be worth a shot instead of getting some sort of jankey fan and pipe system to blow cold air into the tower.

I used my dremel to cut the ridges for the old shelf and supports off to make more room for the kegs.

I applied caulk right onto the foam to keep it from gathering mold or any other nasties. I might do a second coat someday.

Here it is loaded up. I opted for the more expensive, but more better method of twin dual gauge regulators, this way I can carbonate one beer while still dispensing another without having to mess with gages and moving the lines around. Also this way I can serve beers with different dispensing pressures to open their individual flavors and aromas better.

The finished product!
The foamy one on the left just finished carbonating and was warm and pours much better now that its cold.

Here is a shot of the completed kegerator with two pin-lock kegs and a 5lb CO2 canister fitting snugly inside.
Words of advice to future constructors. Without my dremel I'm not sure I would have been able to complete this project, the way the door is now constructed you would have to literally use a machete to carefully cut the plastic inner piece from the door. You would have to cut a new inner piece and glue it directly to the foam/door and rig up a new/modified door gasket if you don't use the frame method I did. Also using ball lock kegs would give you a nicer fit inside the fridge, I'm not sure you would need to cut off the shelving supports on the bottom if you did. Obviously, two pin lock kegs fit, just quite snugly.
Modifications for the future would be adding a temp. controller for lagering and a port for an external nitro tank for some old fashioned nitro love. Maybe some trim rails if I find some nice ones on sale.
3 comments:
Thanks for the post. I just picked up the same fridge so this will be very useful. Do you remember how far from the back of the fridge you have the center of the drill hole? From your pics, it looks to be about 4" (maybe 3" from where the lower flat part of the top begins).
I just got my hole drilled for this same conversion and drilled the hole 5" from the back of the fridge. Also a word of caution, I squared my bolt holes to the back of the fridge then realized that the taps on the tower were not centered to the bolt holes, I should have used the tower instead of the gasket to mark my holes. Thanks for the great write up!
I am about to undertake this project and was wondering before I start if there is anything you might have done differently or change if you were going to do this again?
Thanks
Post a Comment